I still remember the first time I tried to swap out the brake fluid on my old Civic. I was stuck under the chassis, covered in a cocktail of grime, trying to use a literal turkey baster because I thought I could save a few bucks. It was a total disaster—messy, slow, and honestly, a waste of my time. Most people think you need a massive, expensive vacuum setup from a professional shop to handle basic liquid transfers, but that’s just marketing nonsense designed to keep your wallet thin. In reality, a decent, reliable fluid suction tool is the only thing standing between a quick afternoon project and a driveway covered in expensive sludge.
I’m not here to sell you on some high-tech gadget that requires a PhD to operate. My goal is to cut through the noise and show you exactly which tools actually work when you’re actually in the thick of it. I’ll walk you through the different types of suction tools, what to look for so you don’t get stuck with junk, and how to use them without making a massive mess. Consider this your no-BS guide to getting the job done right the first time.
Table of Contents
The Truth About Manual vs Electric Suction Tools
Look, when you’re staring at a messy engine bay, the first thing you’ll notice is the massive price gap between manual and electric options. I’ve spent plenty of late nights in my dad’s garage using a basic automotive oil suction pump that’s nothing more than a hand-operated squeeze bulb. They’re cheap, they don’t need a battery, and they’re great for a quick top-off or draining a little bit of coolant. But let’s be real: if you’re trying to pull a significant amount of fluid through a narrow tube, your arm is going to be absolutely killing you by the end of it.
If you’re serious about doing more frequent maintenance or if you’re working on a bigger project, investing in an electric vacuum fluid extractor is a total game-changer. These units do all the heavy lifting for you, providing a consistent pull that manual tools just can’t match. While they cost more upfront, the efficiency and speed they bring to your workshop liquid management make them worth every penny. It’s all about deciding whether you want a quick fix or a reliable setup that won’t leave you exhausted.
Pro Fluid Evacuation Techniques for Every Diyer
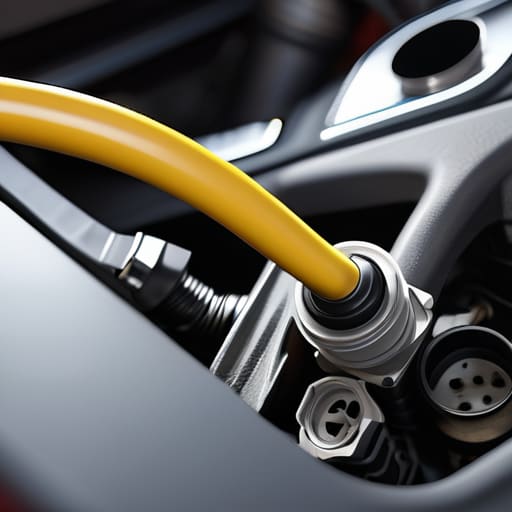
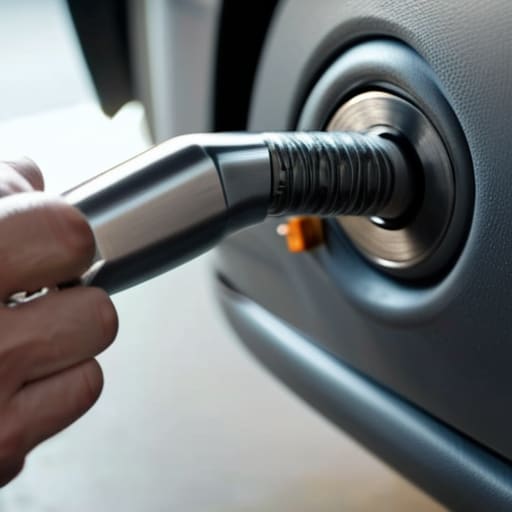
When you’re actually under the hood, things rarely go as smoothly as the manual says they will. One thing I’ve learned is that the key to clean fluid evacuation techniques is all about the access point. If you’re dealing with a tight engine bay where the drain plug is buried under a skid plate, don’t waste your time fighting with a wrench. Instead, grab a vacuum fluid extractor and go through the dipstick tube. It’s a game changer for quick oil changes or pulling old coolant without making a massive mess on your driveway.
If you’re doing something more intensive, like flushing a transmission or clearing out a reservoir, you need to be methodical. I always recommend a two-stage approach: use a pump to get the bulk of the liquid out, then use a smaller siphon for the last bit of residue. If you’re working on a bigger project, investing in some decent industrial liquid transfer tools will save you from the headache of constant refills. Just remember to keep your workspace clean; a little bit of prep work prevents a lot of scrubbing later.
Pro Tips to Keep Your Garage (and Your Floors) Clean
- Don’t just eyeball the fluid level. If you’re using a suction tool to pull coolant or brake fluid, use a clear tube if you can. It lets you actually see if you’re pulling out the junk or if you’re about to suck up air, which is a nightmare for your sensors.
- Always have a secondary container ready. I’ve seen too many guys try to suck fluid directly into a small bottle only to have it overflow halfway through. Use a dedicated waste jug that’s bigger than you think you’ll need.
- Keep your tips clean. If you use the same suction wand for old, nasty oil and then try to use it for fresh brake fluid, you’re just contaminating your system. I keep a separate set of cheap plastic tips for different fluids so I don’t ruin my engine.
- Check your seals before you start. There’s nothing more frustrating than getting halfway through a job only to realize the suction tool isn’t pulling anything because a cheap rubber gasket is cracked. Give it a quick squeeze and a look before you dive in.
- Work in stages. If you’re dealing with thick, old oil, don’t try to suck it all out in one go with a small hand pump. You’ll burn yourself out. Do it in chunks, let the tool rest, and don’t rush it—patience keeps the mess contained.
The Bottom Line: Don't Overcomplicate It
You don’t need a high-end electric setup to get the job done; a solid manual pump works just fine for most routine maintenance if you’ve got the patience.
Always check your fluid levels immediately after using a suction tool, because nothing’s worse than thinking you’re topped off only to see the low oil light pop on ten minutes later.
Invest in a tool with a decent variety of nozzle sizes so you aren’t stuck trying to force a thick tube into a tight access point.
My Take on the Right Tool
Look, you don’t need a fancy shop setup to handle a fluid change, but you do need to stop making life harder than it has to be. A solid suction tool isn’t just about convenience; it’s about avoiding that massive, greasy headache when you’re trying to pull old coolant or oil out of a tight spot. Get the right tool, keep it clean, and you’ll save yourself a lot of frustration and a hell of a lot of money.
Nikolai·Osterman
Bottom Line: Don't Let the Mess Stop You

Look, at the end of the day, whether you go with a rugged manual pump or invest in a high-end electric extractor, the goal is the same: getting that old, degraded fluid out of your system without turning your driveway into a swamp. We’ve covered how to pick the right tool for your specific job and the actual techniques to make sure you aren’t leaving half the sludge behind in the reservoir. Just remember that consistency is everything when you’re doing these maintenance tasks. If you use the right suction tool and follow a clean process, you’re already doing better maintenance than half the people dropping their cars off at the big-name dealerships.
I know it can feel a bit intimidating when you’re staring down a reservoir or a drain plug for the first time, but honestly, you’ve got this. Don’t let the fear of a little spill or a complicated hose keep you from taking control of your own machine. Every time you pull a tool out of your kit and successfully swap out your own fluids, you’re winning a small battle against being overcharged for things you can easily do yourself. Grab your gear, keep your workspace organized, and just take it one step at a time. Your car—and your bank account—will definitely thank you for it.
Frequently Asked Questions
Can I use a standard fluid suction tool to pull brake fluid, or is there a risk of contaminating the system?
Look, you can use a standard suction tool, but you’ve got to be careful. The biggest risk isn’t the tool itself; it’s pulling in air or getting moisture in there. If you’re using a cheap plastic one, make sure it’s actually rated for brake fluid—some chemicals can eat through certain plastics and leave nasty residue behind. Just keep it clean, don’t let any dirt drop in, and you’ll be fine.
How do I clean the suction tubes after pulling out old, dirty oil so they don't gunk up my next job?
Look, don’t just toss a dirty tube back in your toolbox. If that old oil sits in there, it’ll turn into a nasty sludge that ruins your next job. First, run some degreaser or even just some warm, soapy water through the tube to break up the grit. If it’s really thick, use a little brake cleaner—it eats through oil like nothing else. Just make sure you flush it until it runs clear before storing it.
Is it safe to use these tools on modern cars with sensitive sensors, or am I going to trigger a check engine light?
Look, I get the anxiety. You don’t want to spend three hours draining coolant only to end up with a permanent check engine light. As long as you aren’t messing with the electrical connectors or spraying pressurized fluids directly into a sensor housing, you’re fine. These tools just move liquid; they don’t talk to the ECU. Just be careful not to let any debris fall into the lines while you’re working. Keep it clean, and you’ll be good.