I remember sitting on my dad’s oil-stained concrete floor when I was twelve, staring at a dashboard light that felt like a personal insult. He’d tell me, “Nikolai, the car is talking to you, you just don’t speak the language yet.” Back then, I thought you needed a thousand-dollar setup from the dealership just to understand a simple misfire. But honestly? Most shops will try to charge you a massive “diagnostic fee” just to tell you something an engine diagnostic scanner could have revealed in five minutes. It’s a total racket, and it’s exactly why people end up paying for repairs they don’t actually need.
I’m not here to sell you some high-tech, overpriced gadget that you’ll only use once before it gathers dust in your junk drawer. My goal is to cut through the marketing noise and show you how to pick a tool that actually works for your budget. I’ll give you the straight truth on what to look for so you can stop guessing and start fixing. Whether you’re working on a daily driver or one of my vintage Japanese projects, I’ll help you understand the data so you can stay in control of your own hood.
Table of Contents
- The Truth About Reading Dtc Codes Without Getting Ripped Off
- Why a Bluetooth Obd2 Adapter Is Your New Best Friend
- 5 Things I Wish I Knew Before Buying My First Scanner
- The Bottom Line on Scanners
- ## Stop Treating the Check Engine Light Like a Death Sentence
- Don't Let the Check Engine Light Own You
- Frequently Asked Questions
The Truth About Reading Dtc Codes Without Getting Ripped Off
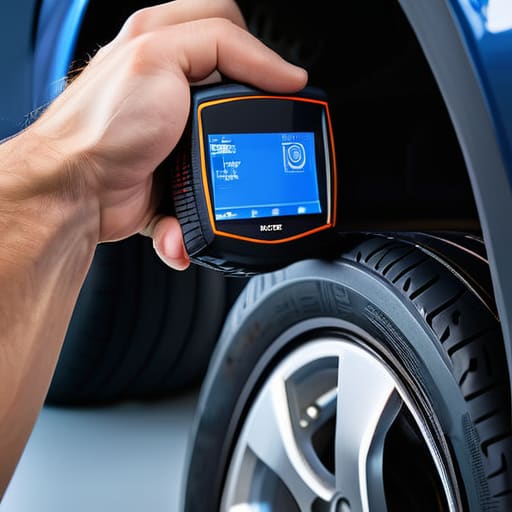
Look, when that check engine light pops up, your first instinct is probably to call the dealership. They’ll charge you a hundred bucks just to plug in a tool and tell you what you already know: something’s wrong. But here’s the thing—reading DTC codes isn’t some dark art reserved for master techs. Most of the time, the car is literally screaming the answer at you through the OBD2 port. If you grab a decent vehicle fault code reader, you’re basically getting the car to tell you its own secrets before you even open the hood.
The real trap is when a shop reads a code and immediately tells you that you need a whole new sensor or a massive repair. That’s where they get you. Instead of just taking their word for it, you should be looking into real-time data stream monitoring. This lets you see if a sensor is actually failing or if it’s just giving a glitchy reading because of a loose wire or a vacuum leak. Don’t let them sell you a part you don’t need; just verify the data first.
Why a Bluetooth Obd2 Adapter Is Your New Best Friend
Look, I’ve spent way too many hours hunched over a fender, trying to read a tiny, backlit screen on a handheld device while my back screams at me. That’s why I’m telling you: grab a bluetooth obd2 adapter and save yourself the headache. These little dongles plug right into your port and sync straight to your phone. Instead of wrestling with a clunky, cheap plastic tool, you’re using an interface you already know how to navigate. It turns your smartphone into a legit vehicle fault code reader without costing you a fortune.
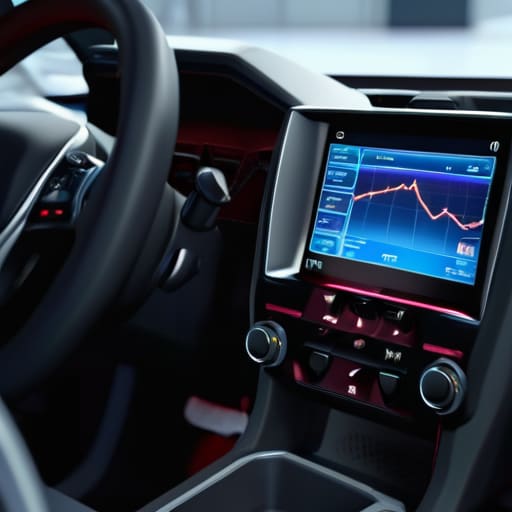
The real game-changer, though, isn’t just seeing why a light came on; it’s what happens once you’re connected. With a solid adapter, you can dive into real-time data stream monitoring. This is huge. Instead of just reading dtc codes and guessing, you can actually watch how your oxygen sensors or fuel trims are behaving while the engine is running. It takes the guesswork out of automotive sensor testing and lets you see the actual “health” of the car in the moment, rather than just looking at a snapshot of a past mistake.
5 Things I Wish I Knew Before Buying My First Scanner
- Don’t get blinded by the fancy features. A lot of these high-end scanners promise “full system diagnostics,” but if you’re just working on your daily driver, you really only need something that reads and clears DTCs (Diagnostic Trouble Codes) and shows you live data. Don’t pay for a professional-grade interface if you’re just doing DIY oil changes and sensor swaps.
- Look for “Live Data” capabilities, not just code reading. Anyone can tell you a sensor is broken by reading a code, but seeing the actual numbers—like how your oxygen sensor is behaving in real-time—is how you actually catch a part that’s failing but hasn’t completely died yet. That’s the difference between guessing and actually knowing.
- Check the compatibility list twice. It sounds stupid, but I’ve seen guys buy a cheap scanner only to realize it doesn’t support the specific protocol for their newer European car or even a specific manufacturer. Make sure it actually speaks your car’s language before you drop your hard-earned cash on it.
- Avoid the “One-Click Fix” trap. Some cheap scanners will tell you exactly what part to replace, like “Replace Mass Air Flow Sensor.” Don’t fall for that. A scanner only tells you what’s symptomatic. Sometimes a vacuum leak causes the same code as a bad sensor. Use the scanner as a starting point, not the final word.
- Invest in something with a decent build quality. You’re going to be working in garages, dropping things, and getting grease everywhere. If you buy the cheapest, most flimsy plastic unit you can find, it’s going to die on you the first time it hits the concrete floor. Get something that feels like it can actually handle a real workspace.
The Bottom Line on Scanners
Don’t let a shop charge you a hundred bucks just to tell you what a twenty-dollar scanner can find in five minutes.
Start with a basic Bluetooth adapter; you don’t need a professional-grade tablet to figure out why your check engine light is staring you down.
A code is just a starting point, not a final verdict—use the scanner to find the symptom, but use your eyes to actually find the broken part.
## Stop Treating the Check Engine Light Like a Death Sentence
“Look, that little orange light on your dash isn’t a sign that your car is dying; it’s just your engine trying to talk to you. Most shops will charge you a hundred bucks just to tell you what the car already knows, but once you get a scanner in your hands, you’re the one holding the mic.”
Nikolai·Osterman
Don't Let the Check Engine Light Own You
At the end of the day, picking up an engine diagnostic scanner isn’t about becoming a certified master tech overnight; it’s about taking back control. We’ve covered how reading those DTC codes yourself stops the guesswork, and why a simple Bluetooth adapter can turn your smartphone into a legit diagnostic tool. You don’t need to drop a thousand bucks on a professional-grade scanner to know if you’re looking at a loose gas cap or a failing oxygen sensor. Once you understand the basics of what your car is trying to tell you, you stop being a passive passenger and start being the one in charge of your own maintenance.
I know it feels intimidating when that little amber light pops up on your dash, but I promise you, it’s usually not as scary as the dealership makes it sound. Most of the time, it’s just a sensor being moody or a small fix that you can handle in your own driveway with a bit of patience. Don’t let the fear of “breaking something” keep you from learning. Grab a scanner, get your hands a little dirty, and start trusting your own intuition. You’ve got this, and honestly, your wallet is going to thank you every single time.
Frequently Asked Questions
Do I really need a fancy scanner, or can I just use a cheap one from the auto parts store?
Look, if you just want to see why the check engine light is blinking, those cheap store scanners get the job done. But honestly? They’re pretty one-dimensional. They tell you the problem exists, but they won’t help you actually fix it. If you’re serious about DIYing, grab something with a bit more depth. You want a tool that shows live data, not just a code that tells you your oxygen sensor is acting up.
Once I get a code, how do I know if it's a simple sensor fix or if my engine is actually dying?
Look, don’t panic the second that light pops up. A code like a P0171 usually just means a vacuum leak or a dirty sensor—cheap, easy stuff. But if you’re seeing codes for “misfires” paired with a heavy shudder or actual smoke, that’s when you should worry about internal damage. My rule of thumb? Check the code, look up the specific part, and see if it’s a “bolt-on” fix or a “tear-down” nightmare.
Can these scanners actually clear the check engine light, or do I still have to go to a shop to reset everything?
Look, they can definitely clear the light, but don’t get it twisted. Clearing the code is just hitting a “reset” button; it doesn’t actually fix the broken part. If you clear the light without fixing the underlying issue, that damn sensor is going to trip again within a few drive cycles. Use the scanner to kill the light once the repair is actually done, otherwise, you’re just masking the problem.