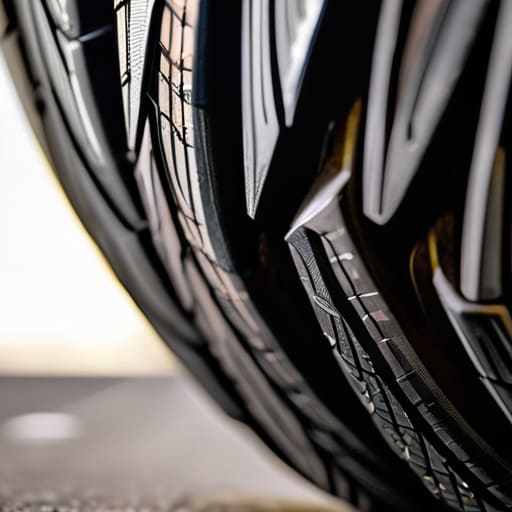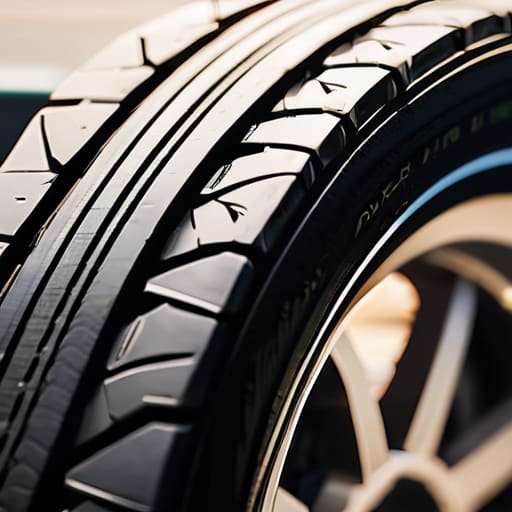
I remember my first week at the shop, watching a senior tech try to sell a customer a full set of premium tires just because they looked “a bit thin.” It rubbed me the wrong way, because honestly, most people get intimidated by the jargon and end up paying for something they don’t actually need yet. You don’t need a computerized laser scanner or a fancy service bay to know if your rubber is shot; a simple tread depth check is something you can do in your driveway in about thirty seconds.
I’m not here to sell you a brand name or walk you through some high-tech diagnostic ritual that costs a hundred bucks. My goal is to give you the straight truth on how to eyeball your tires and use a basic coin to see if you’re actually safe or just being hustled. I’ll show you exactly what to look for so you can stop guessing and start taking control of your own maintenance.
Table of Contents
The Truth About Measuring Tire Tread With a Gauge
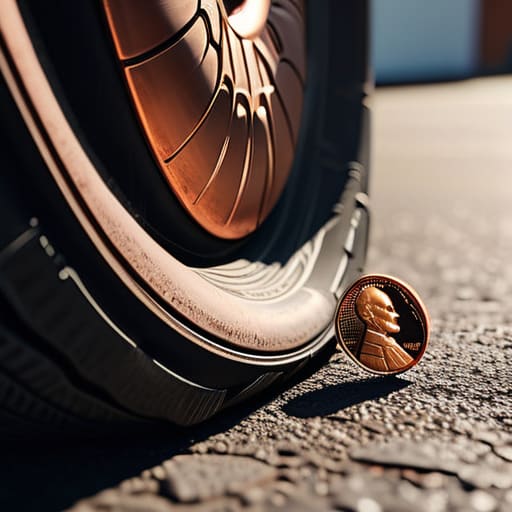
Look, I get it. The penny trick is a classic, and it works in a pinch if you’re stuck in your driveway. But if you’re serious about your car, relying on a coin is basically just guessing. When I’m working on a build or checking out a customer’s ride, I always reach for a dedicated tool. Measuring tire tread with a gauge gives you a decimal reading that actually means something. A penny tells you if you’re “okay,” but a gauge tells you exactly how much life you have left before things get sketchy.
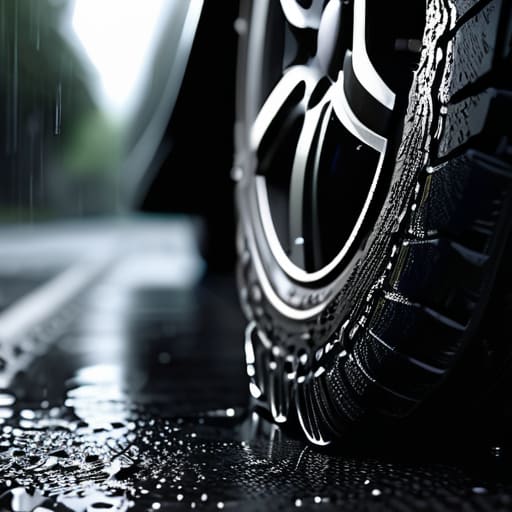
The real reason you want that precision isn’t just about passing a state inspection; it’s about wet road driving safety. When those grooves get shallow, your tires lose their ability to channel water away from the contact patch. That’s when you start dealing with hydroplaning, and honestly, that’s a terrifying feeling when you’re hitting highway speeds. If you notice uneven wear, it might also point to something else wrong, like bad alignment or worn suspension. Getting an accurate number helps you spot those tire wear patterns early, so you aren’t caught off guard by a blowout.
Dont Get Caught Breaking Legal Tire Tread Limits
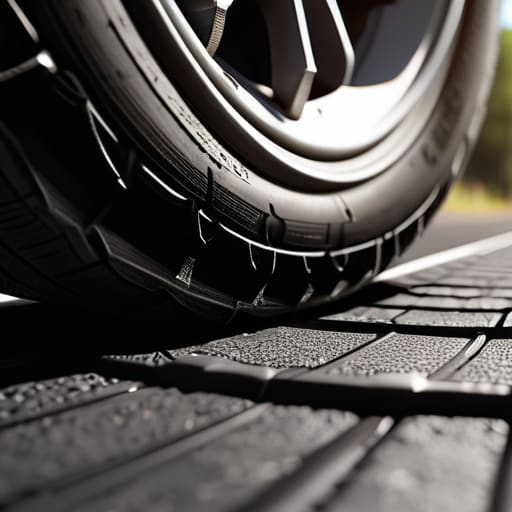
Look, I’ve seen too many guys get pulled over or, worse, lose control on the highway because they thought they could squeeze another few months out of bald tires. Most states have strict legal tire tread limits, usually sitting at 2/32 of an inch. If a cop sees your treads are down to nothing, you aren’t just looking at a hefty fine; you’re looking at a failed inspection that could keep your car off the road until you drop some cash on new rubber.
But it’s not just about avoiding a ticket from a highway patrol officer. When you’re dealing with wet road driving safety, those grooves in your tires are doing the heavy lifting to channel water away from your contact patch. If your tread is too shallow, you’re basically driving on a layer of water, which leads straight to hydroplaning—and that’s a quick way to end up in a ditch. Don’t wait for a cop to tell you your tires are junk; if they look smooth, they’re dangerous.
Pro Tips for Not Getting Stranded
- Don’t just check one spot. Tires wear unevenly depending on your alignment, so grab that penny and test the inner edge, the outer edge, and the middle to get the full picture.
- Watch out for “patchy” wear. If you see weird little divots or one side looks smoother than the rest, it’s not just about the depth—your suspension is probably screaming for help.
- Check your sidewalls while you’re down there. If you see any cracks, bulges, or deep cuts, the tread depth doesn’t even matter; that tire is a ticking time bomb and needs to go.
- Keep an eye on the age, too. Even if the tread looks deep, if your tires are older than six years, the rubber gets hard and loses its grip. Check the DOT code on the side to see when they were actually born.
- Use a flashlight. It sounds basic, but trying to inspect tires in a dark garage or under a dim streetlamp is how you miss the small stuff. Get some good light on those grooves so you aren’t guessing.
The Bottom Line on Your Rubber
You don’t need to buy some fancy, overpriced gauge to know if your tires are shot; the old penny trick works just fine if you’re on a budget.
Don’t wait until you’re driving in the rain to check your tread—if you’re hitting those legal limits, you’re basically driving on slicks and asking for hydroplaning.
Checking your tread is one of those five-minute jobs that saves you from a massive headache and a much more expensive repair bill down the road.
## The Real Cost of Cutting Corners
Look, a mechanic might tell you your tires are “fine” just to move on to the next job, but your car doesn’t lie. If you’re feeling that hydroplaning shimmy or seeing Lincoln’s head in the tread, you aren’t just driving on old rubber—you’re driving on a prayer.
Nikolai·Osterman
Don't Leave Your Safety to Chance
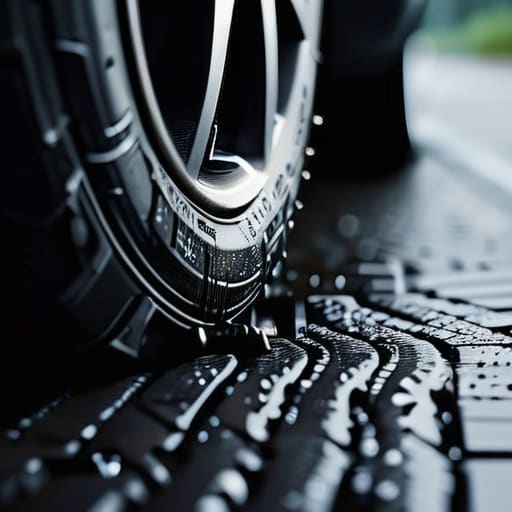
Look, we’ve covered the essentials: whether you’re using a professional gauge or the old-school penny trick, the goal is the same. You need to know exactly what you’re working with before you hit the highway. Don’t get lazy and assume your tires are fine just because they look “okay” from a distance. Between staying on the right side of the law and making sure you actually have enough traction to handle a sudden rainstorm, checking your tread is one of those non-negotiable tasks. It’s a five-minute job that can literally save your life and keep you from getting a massive, unnecessary bill at the tire shop.
At the end of the day, keeping your car in top shape isn’t about being a master mechanic; it’s about being proactive. Most people wait until something goes wrong—a loud noise, a vibration, or a flat—to finally pay attention to their vehicle. Don’t be that person. Take control of your own maintenance and stop letting uncertainty drive your car. Grab that penny, check your rubber, and drive with some actual confidence. You’ve got this, and honestly, your car will thank you for it.
Frequently Asked Questions
If my tread looks okay but I still feel the car sliding on wet roads, what's actually going on?
If your tread looks fine but you’re still hydroplaning, your rubber is likely toast. Tires aren’t just about depth; they’re about the compound. Over time, heat and road grime make the rubber harden—we call it “dry rot.” Once that rubber loses its grip, it doesn’t matter how deep the grooves are; you’re basically driving on hard plastic. If they feel slick or look cracked, stop gambling with your safety and swap them out.
Does it matter if the wear is uneven, or is it just about the overall depth?
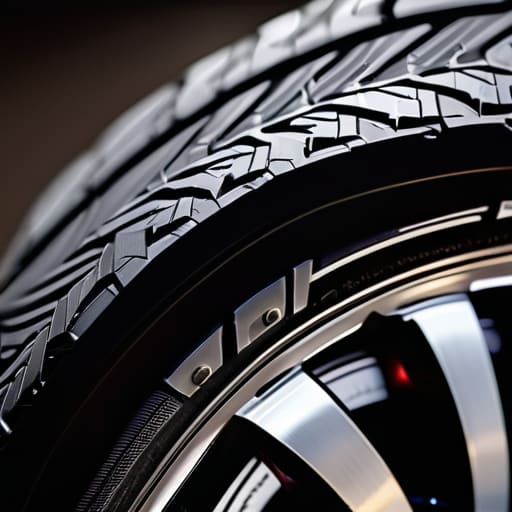
Look, depth is only half the story. If your tread is deep but wearing unevenly—like one side is bald while the other is fine—you’ve got a real problem. That usually means your alignment is shot or your suspension is acting up. Driving on uneven tires is a recipe for a blowout or constant pulling to one side. Don’t just check the numbers; look at the pattern. If it looks wonky, get it checked.
Can I just use a ruler, or is there a specific way to measure so I don't get a false reading?
Look, you can use a ruler, but it’s a headache. Unless you’ve got a steady hand and a ruler with millimeter markings, you’re just guessing. If you’re off by even a tiny bit, you might think you’re safe when you’re actually riding on bald rubber. Honestly? Just grab a cheap tread depth gauge from the parts store. It’s a five-dollar tool that gives you a real number instead of a “close enough” guess.